Weathering Method
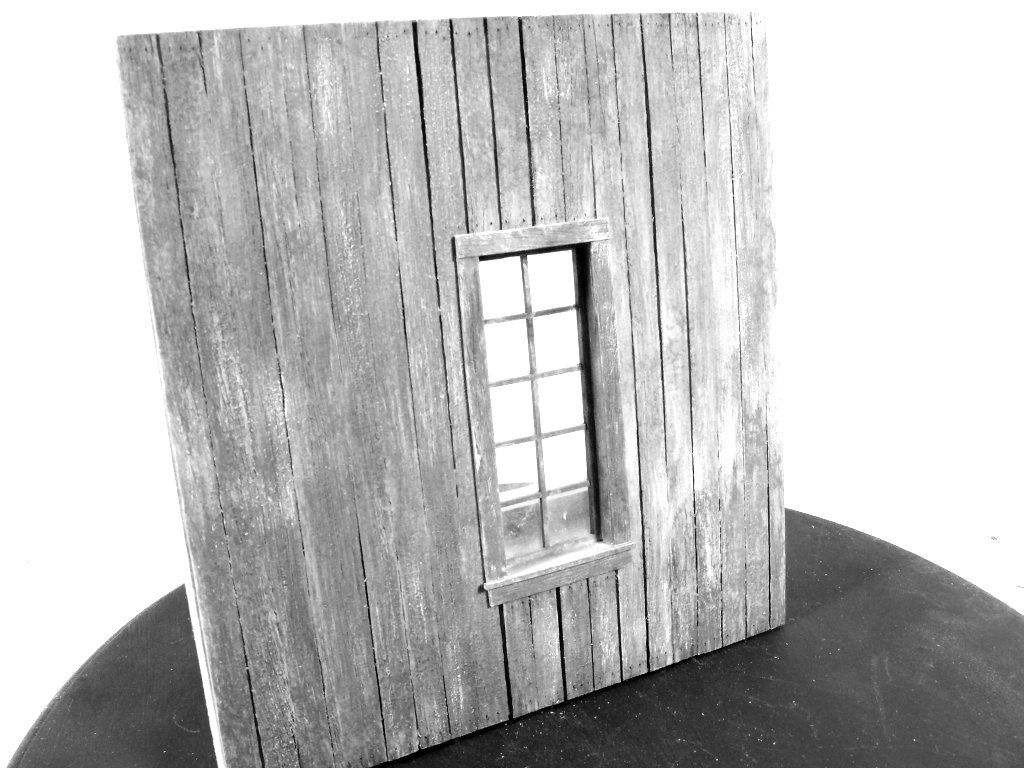
I made a small test section of a 1/2" scale building wall for an upcoming grist mill project.The wall is made from foam core board with a piece of .040" styrene sheet epoxied to the back and wooden coffee stir sticks glued to the opposite side for the vertical siding. The window was made from styrene strip with the window glazing cut from the clear cover of a plastic CD case.
I want the grist mill to have a very old look to it, but still look to be be functional.
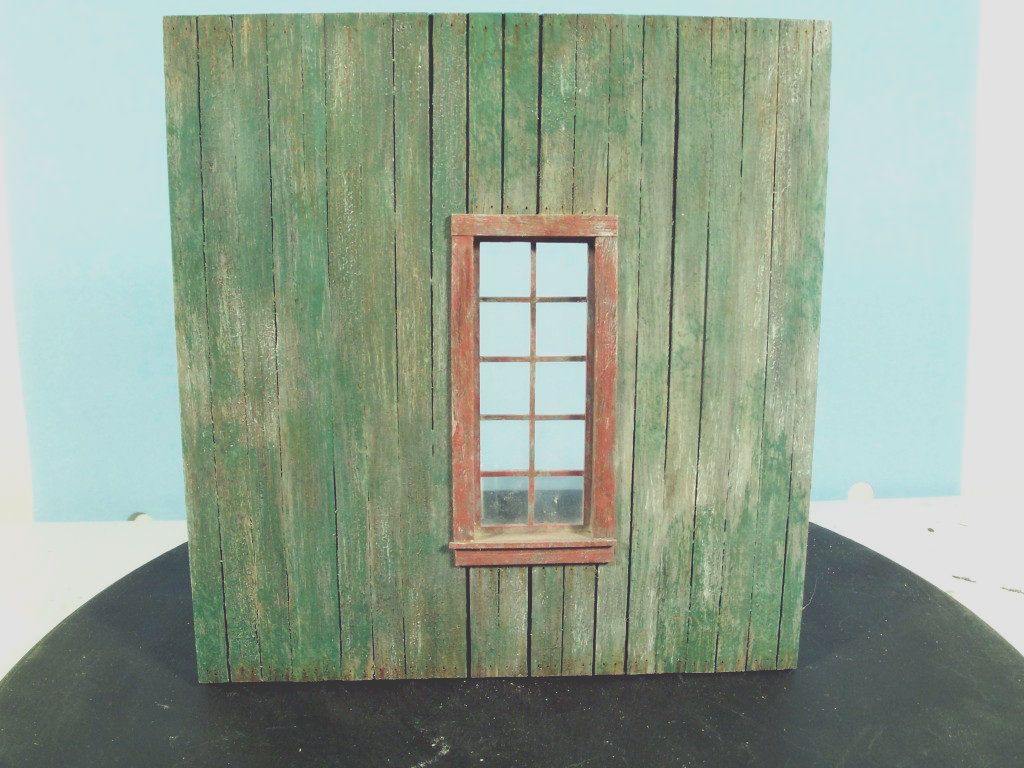
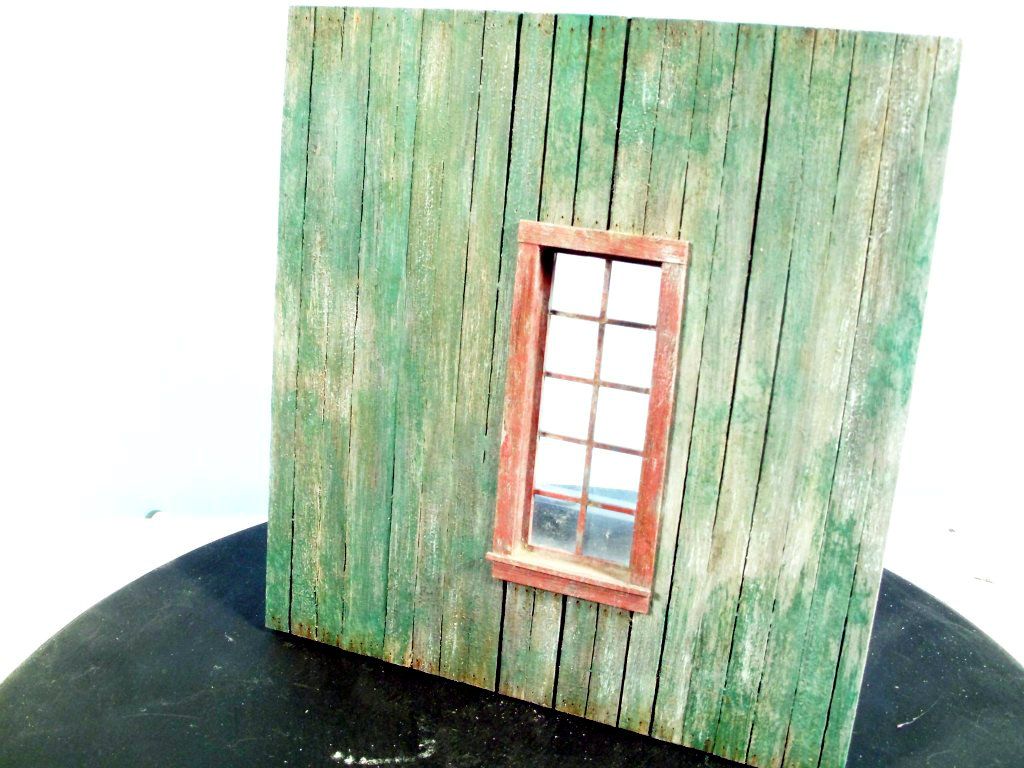
Here are the results.

Here I am showing the supplies and tools needed for my method.
Craft paints from the dollar store in the colors shown.

Good quality artist oil paints,Burnt Umber,Burnt Sienna and Black.
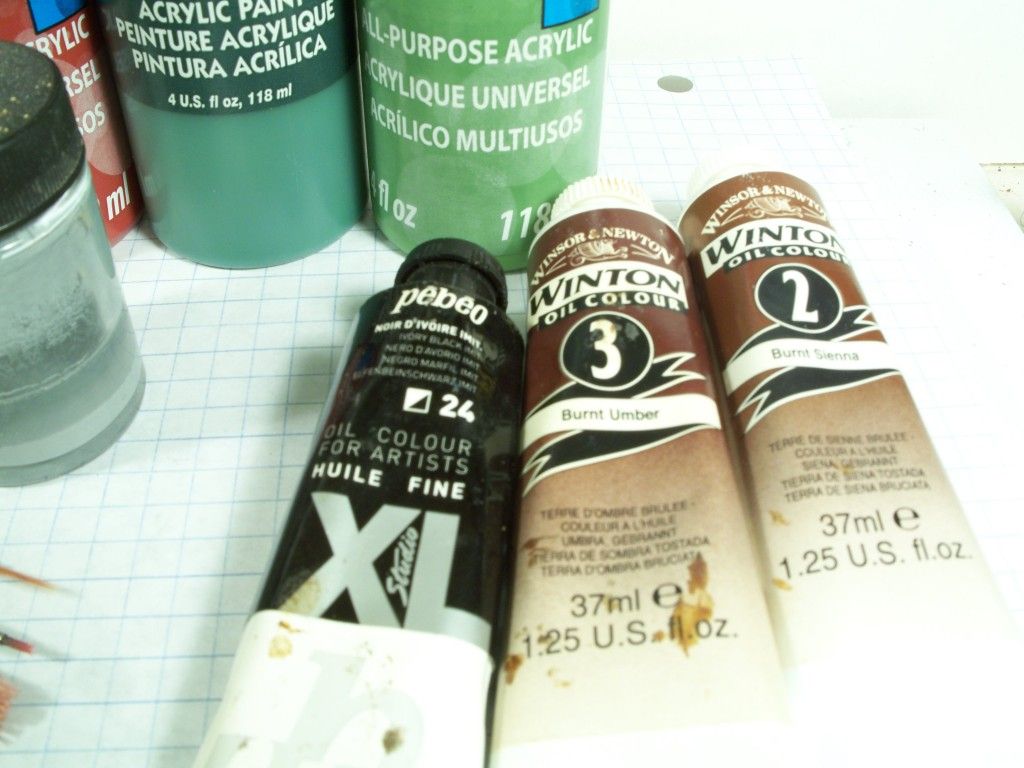
Grey automotive primer,Acrylic floor finish and Testors Dullcoat
Some artist chalk pastels made into a powder by scraping with the edge of a craft knife.Which will be applied with a medium sized round sable brush.Light gray and Raw Sienna where used in this case.

Here are the brushes that I used.Liner,flat and round course bristle and a small round sable.
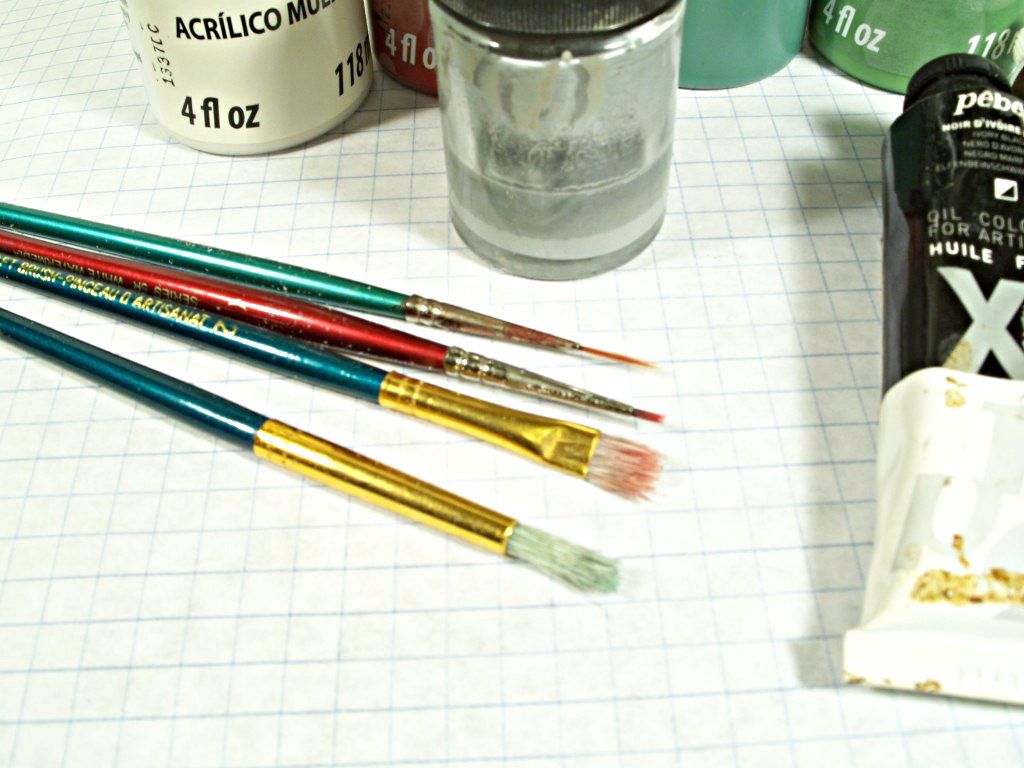
Lacquer and enamel thinners and H2O will also be needed.Due diligence and safety are also needed when using some of the products,so heed the warnings on the labels.
To get this effect I first sanded the wood planks with course sandpaper going with the grain.Then they are sanded with a fine sandpaper to get rid of the fuzzy wood fibers that where raised up.The strips of styrene for the window trim where also treated this way before assembly.
Now the painting process can begin.I sprayed gray automotive primer over all sides of the wall section and the window was primed separately.I put a dab of each of the oil paints into a plastic lid from a chip container and added a few drops of Lacquer thinner.Using a brush I took a dab of the black and mixed with the thinner and following the grain of the wood I lightly brushed it on in a random fashion to darken some areas.The thinners will also dissolve some of the primer so you get a lot of different shades of gray.Next very small amounts of the Burnt umber,also thinned, were brushed on here and there.
Next a few drops of some gray and white craft paints where placed on a piece of meat tray foam to use as a palette to make some lighter shades of gray.Using the flat course brush I very lightly dry-brushed the planks,following the grain,to add highlights.
I now seal these first layers with the clear Dullcoat applied from the spray can in very light layers to seal everything.
Once this has dried,which is very quickly,I brush on a liberal coat of the Acrylic floor finish and let it dry. This will produce a glossy surface for the next step.
Using the method that Chuck Doan came up with to simulate peeling paint on his incredible life-like structure dioramas.
I brushed on some Enamel thinners to a section of the wall and then immediately brushed and dabbed on some of the green craft paint (or red paint for the window frame)
Do not brush this on to get an even coat,you want it to be blotchy looking.Once the paint has dried to the touch use the sticky side of a piece of cello tape to peel some of the paint off.
Repeat doing small sections at a time till you get a random look with sections without any paint at all.
I sealed this layer with the Dullcoat and let it dry.
I then dry-brushed on some of the green paint to add yet another layer of color and texture to the wall.A lighter shade of green as well as some white were dry-brushed on for highlights.
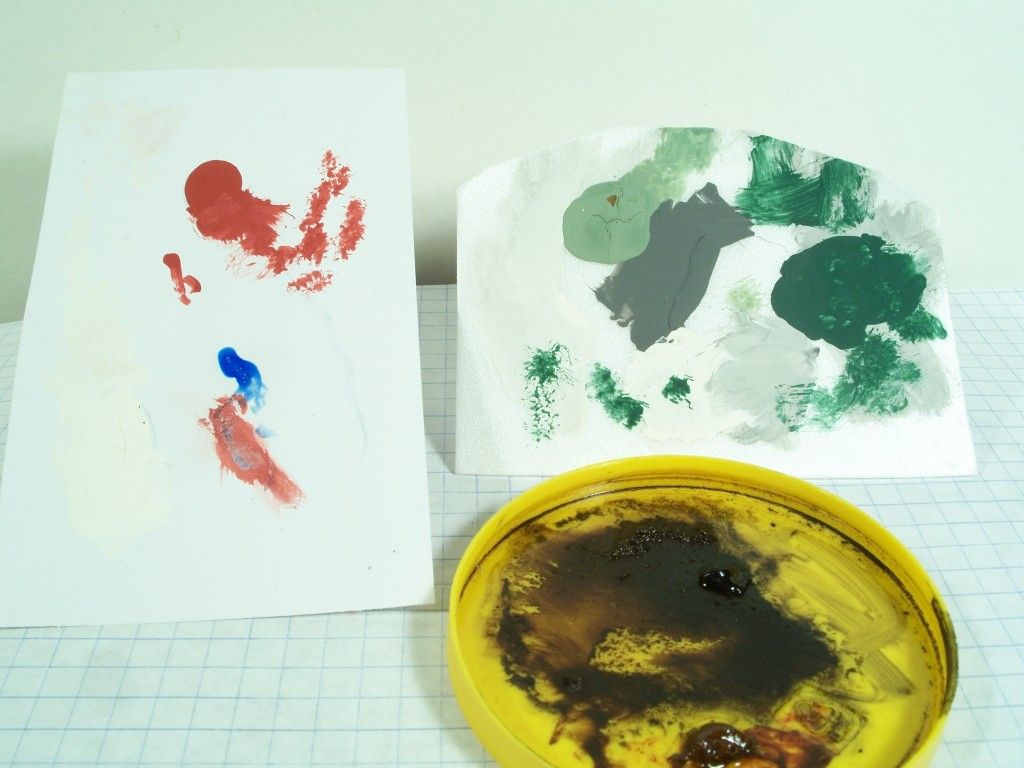
Here are the palettes of the various colors used.
Another coat of the floor finish was applied and left to dry.
Using a sewing needle inserted into a piece of dowel for a handle,I put indentations on the ends of the planks to simulate the nail holes.
I brushed on a thin coat of enamel thinners over the whole surface of the wall.Using the same palette with the oil paints on it I added a few drops of Enamel thinner (the lacquer thinner will have evaporated by now)and with the small round sable brush I applied small dabs of the UN-thinned Burnt Sienna oil paint in and around the nail holes and with a Q-tip lightly remove the excess paint,then with point of the liner brush, that has been dampened with enamel thinner,pull paint out of the nail hole downward with the grain.This will give a nice effect of a rusty nail in the board as well as a nice rusty stained plank.The other colors on the palette are also dabbed over the surface and blended with a Q-tip.If a mistake is made or you don't like the effect,use a thinner dampened Q-tip to erase the error.
Let this layer dry a little and then spray it once again with the Dullcoat.
Now after installing the window and glazing I used the pastel powders here and there including the window glazing to highlight and give a dusty appearance overall.
This may sound like a lot of steps but because of the short drying time of the products used and the almost instant sealing properties of the Dullcoat,one can do the work in one sitting.It took me roughly four hours to complete this test piece.
No comments:
Post a Comment